Find the source before you patch anything
The stain or drip inside your attic or ceiling is rarely directly above the actual leak on the roof. Water tends to travel several feet along a rafter or the underside of the roof decking before it finally drips through, so working straight up from the stain often points you at the wrong spot. Tracing the water's actual path is the single most useful thing you can do before touching a tube of roofing cement.
Trace the water's path in the attic
- Go into the attic with a flashlight, ideally during or right after rain.
- Follow the water stain or wet insulation uphill, toward the roof ridge, rather than assuming the leak is straight above the mark.
- Look for daylight coming through gaps in the roof decking. That gap is often the real entry point.
- Note which rafter bay the trail follows. It will help you narrow down the search once you're outside.
Work through the likely causes, in order
Don't jump straight to a flat list of "5 things it could be." Work through these in order, from the most common and easiest to check to the least. If one step doesn't turn up damage, move to the next.
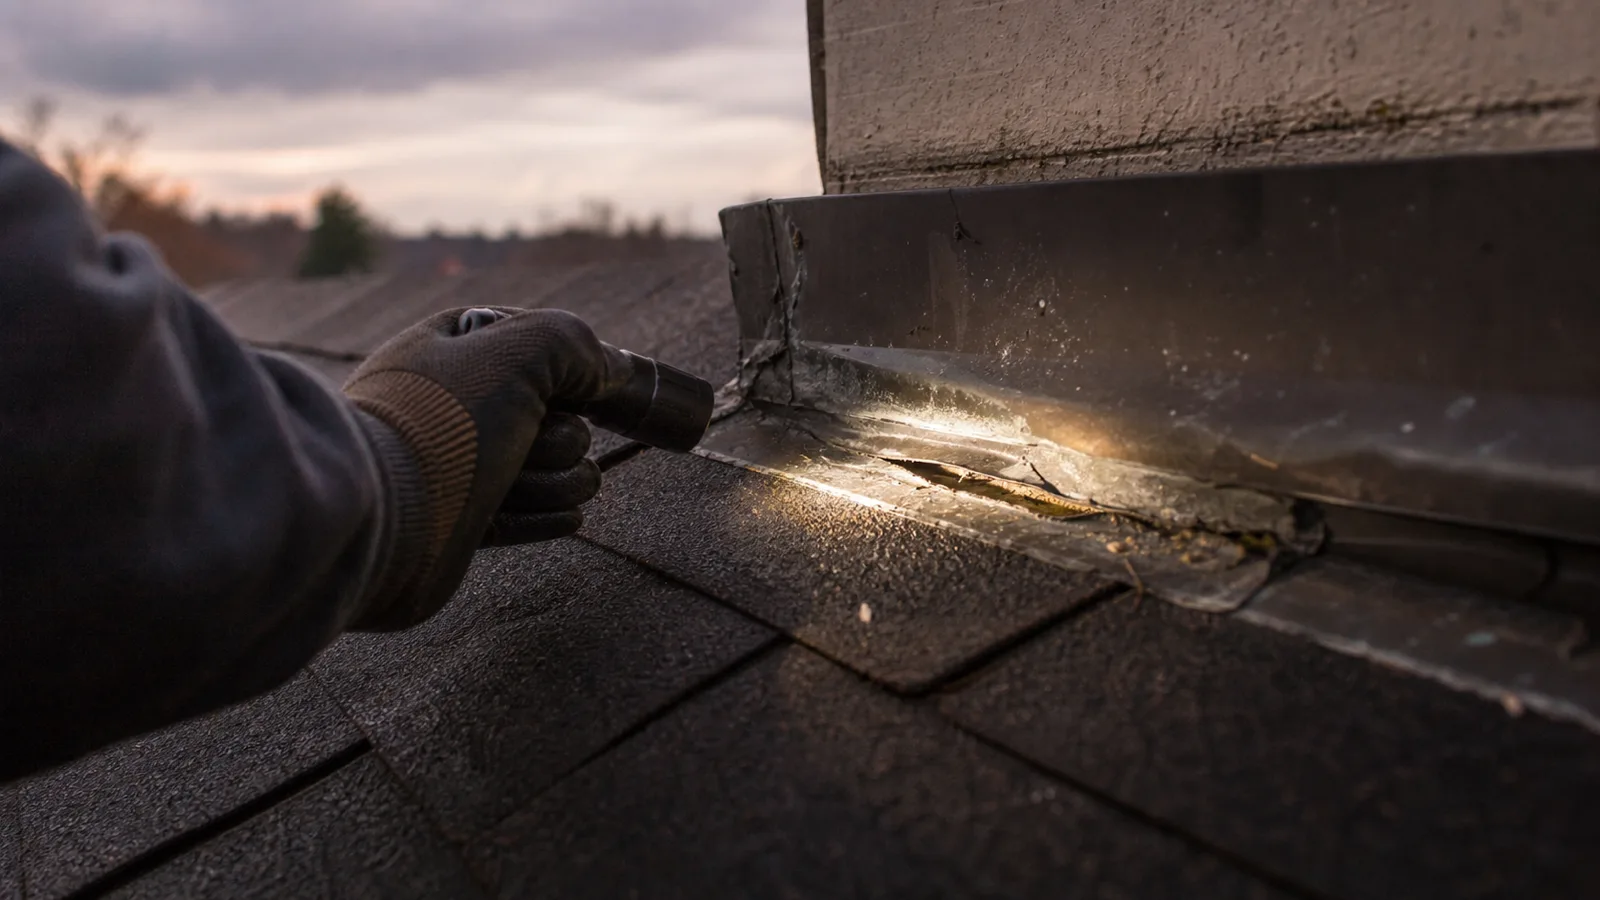
Check the flashing
Flashing is the metal strip that seals joints around chimneys, vents, and skylights, and it's the most common single point of failure on an otherwise sound roof.
- What to check: run a hand along the edge where flashing meets the chimney, vent pipe, or skylight frame.
- What a problem looks like: a gap wider than a pencil between the flashing and the roofing material, rusted or cracked metal, or sealant that's dried and cracked away.
- What it means: if the flashing looks intact and tight, move to Step 2.
When the cause turns out to be flashing
If what you find is flashing that's pulled away from the roofline, or a section that's cracked and rusted, that's your answer. The full guide covers resealing or replacing it.
Look at the shingles
- What to check: shingles near and downhill from the water trail you traced in the attic.
- What a problem looks like: cracked, curled, or missing shingles; granules missing in a patch (bare, dark asphalt showing through); a shingle that lifts easily by hand.
- What it means: a single damaged shingle is a contained repair. Widespread curling across the roof points to age rather than a one-off leak.
When the cause turns out to be shingles
If the flashing checked out fine, replacing a damaged shingle is usually the next fix, and the linked guide covers the tools and steps involved.
Check valleys and roof penetrations
A valley is the V-shaped seam where two roof slopes meet, and it's a natural water-concentration point since runoff from both slopes funnels through it. Roof penetrations, like plumbing vent boots (the rubber or plastic collar sealing a pipe where it passes through the roof), are the other common overlooked spot.
- What to check: the metal or shingle lining inside a valley, and the rubber collar around any vent pipe.
- What a problem looks like: cracked or dried-out vent boot rubber, debris packed into a valley holding water against the shingles, or a valley liner that's visibly corroded.
- What it means: a cracked vent boot is a cheap, contained fix (a replacement boot is a hardware-store item). A failing valley liner usually needs the section rebuilt.
Rule out ice dams and clogged gutters
This one is seasonal. An ice dam is a ridge of ice that forms at the roof edge and backs up meltwater under the shingles instead of letting it drain off normally.
- What to check: gutters and the roof edge, especially after a cold snap followed by a thaw.
- What a problem looks like: visible ice buildup along the eaves, gutters packed with debris that trap water, or leak timing that lines up with freeze-thaw cycles rather than a single storm.
- What it means: if the leak only shows up in winter near the roof edge, this is likely your cause, and clearing gutters or improving attic insulation (to reduce the melt-refreeze cycle) addresses it going forward.
Consider deck or underlayment failure
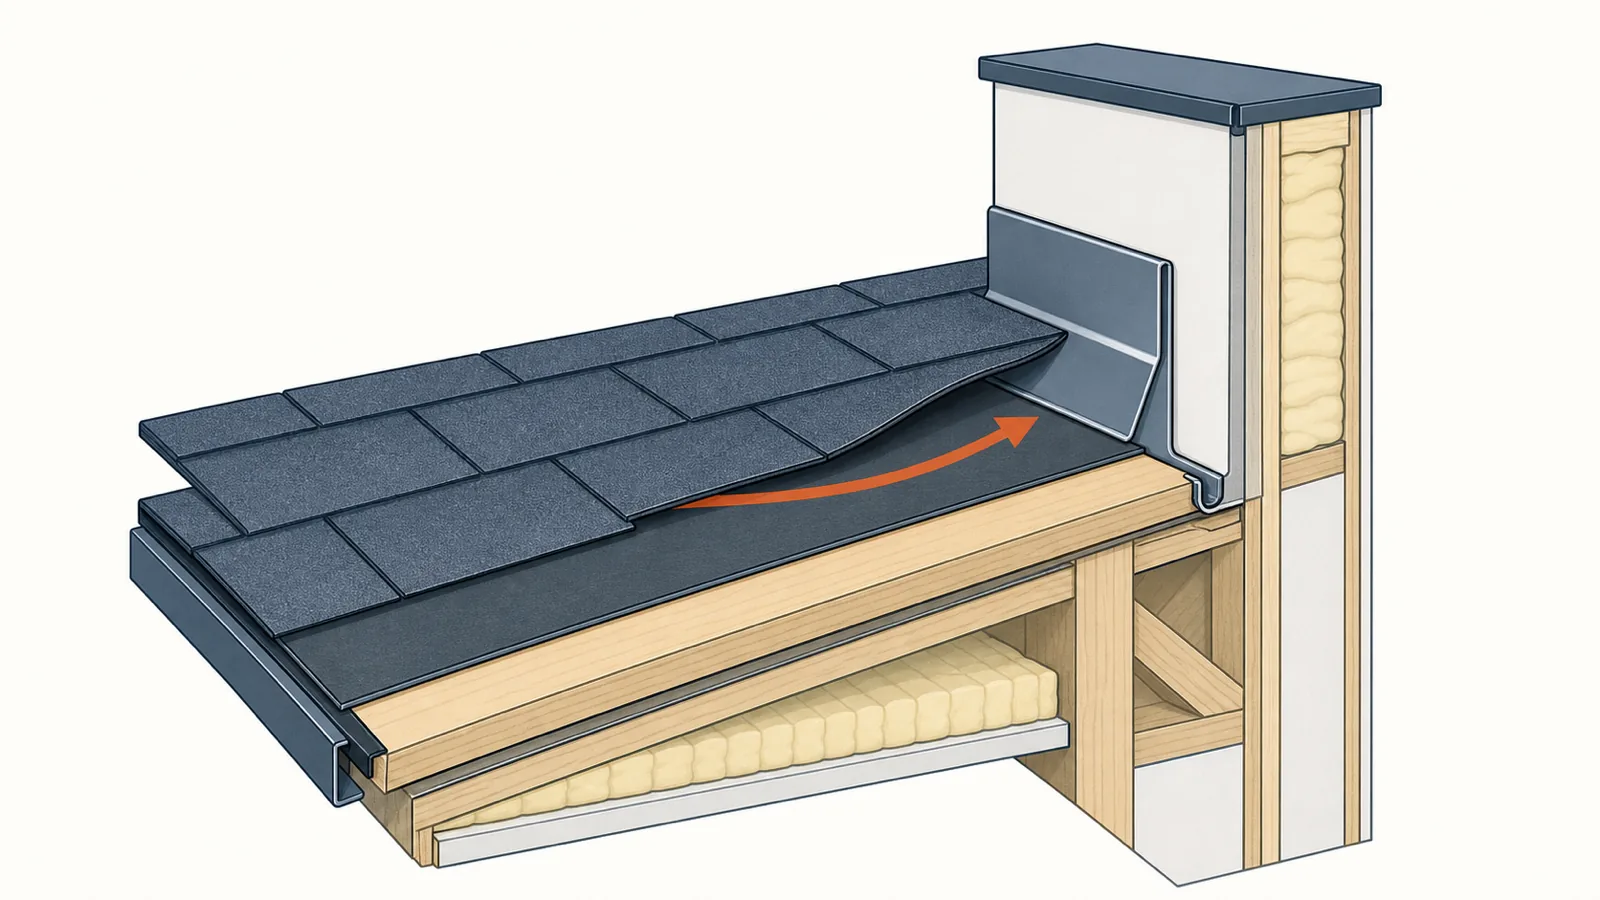
Underlayment is the water-resistant barrier installed directly beneath the shingles. If none of the steps above turned up visible damage but the leak persists, the underlayment or the roof deck itself may have failed.
- What to check: for this one, you're mostly ruling out everything else rather than confirming visually from the surface.
- What it usually means: water is getting past the shingle layer through age or a hidden crack in the decking, not through a single identifiable spot.
- This is the point where DIY diagnosis stops. Confirming and repairing deck or underlayment damage typically means pulling shingles, which is a job for a roofer.
Temporary fixes to stop water now
These buy time. They don't replace the diagnostic work above, and none of them should be treated as a finished repair. Tarp the affected section, weighted down or nailed to furring strips rather than directly into the roof, so you're not adding more holes. Roofing cement pressed into a visible crack or gap on an active drip can slow water intrusion for days to weeks. And move anything valuable out from under the drip point inside, with a container set to catch water in the meantime.