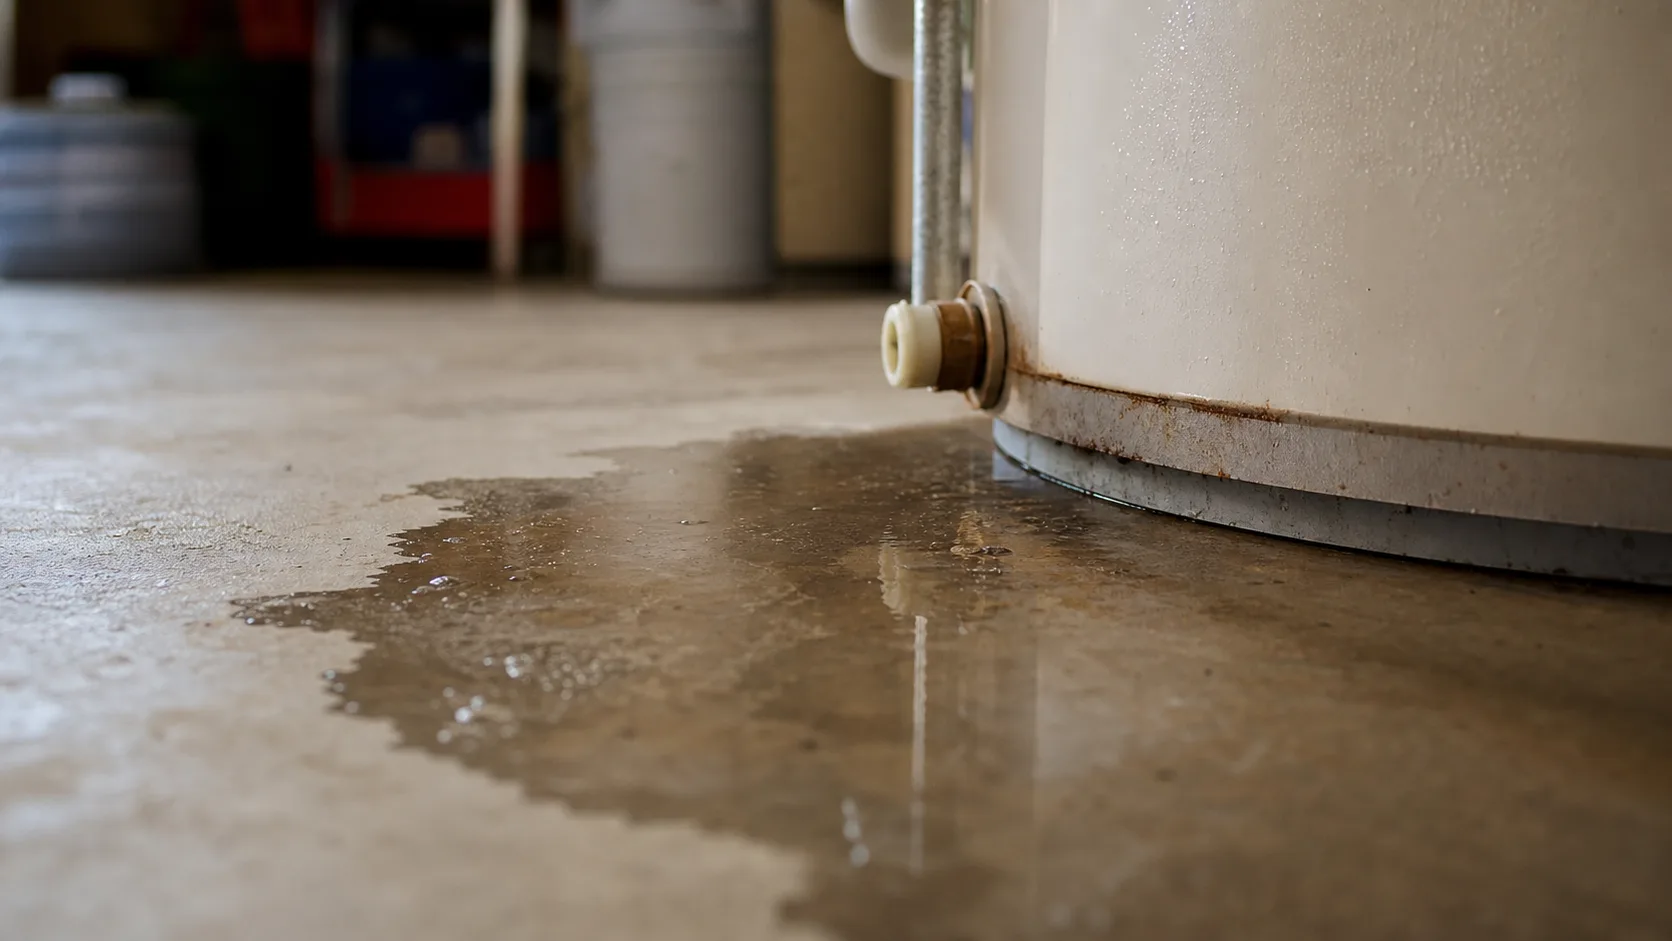
Figure out where the water is actually coming from
Dry everything around the base of the tank completely with a towel, including the top of the tank and any visible pipe fittings. Wait 15 to 20 minutes without running any hot water, then check where new moisture shows up first: the top fittings, the bottom drain valve, or the tank shell itself. This is the branching point for everything below.
If it's leaking from the top
For the full breakdown of each cause and what to check, see the dedicated guide to a water heater leaking from the top of the tank. In short, top-of-tank leaks trace to one of three things, roughly in order of likelihood:
- Loose fittings. The cold-water inlet and hot-water outlet connections can loosen slightly over years of thermal expansion and contraction. Hand-tightening, or a quarter turn with a wrench, often stops the leak.
- A failing T&P valve. The temperature and pressure relief valve, mounted on or near the top of the tank, releases water automatically if pressure or temperature inside the tank gets too high. One that drips constantly, rather than only during a pressure spike, usually needs replacing.
- Corroded inlet or outlet nipples. These short pipe fittings connect the tank to your home's plumbing, and corrosion here is common on older units.
Work through the tightening and valve checks above first. If the leak continues after that, treat it as a case for a plumber rather than more guesswork, since confirming a nipple or valve failure usually means draining the tank.
If it's leaking from the bottom
Bottom leaks trace to a different set of causes. For the full breakdown, including a drain-valve-versus-tank comparison, see the dedicated guide to a water heater leaking specifically from the bottom. In short, the most likely causes, in order, are a loose or worn drain valve, condensation from a recent cold-water refill, or, in the more serious case, corrosion working through the tank itself.
If the tank itself is wet or rusted through
This is the branch that means stop diagnosing and start planning for replacement. The tank shell, or liner, is the steel body that actually holds the water, and once it corrodes through, it can't be patched or repaired. A pressurized vessel with a compromised wall isn't safe to seal with tape, epoxy, or any other stopgap. Rust-colored streaks running down the outside of the tank from a seam, rather than from a fitting, are the telltale sign that the leak is coming from the shell itself.
Sediment buildup at the bottom of the tank, which accumulates naturally over years from minerals in the water supply, accelerates this kind of corrosion by trapping heat and moisture against the tank floor. So does a depleted anode rod, a sacrificial metal rod inside the tank designed to corrode instead of the tank walls. Neither is something you can inspect without draining and opening the tank, so if the leak is coming from the shell, the practical answer is the same either way: plan for a replacement.
What to do right now, before you diagnose further
- Shut off the cold water supply valve at the top of the tank. This stops new water from entering and slows the leak regardless of the cause.
- Shut off the gas control valve or the electric breaker for the unit.
- Place a container or towels under the leak to limit water damage while you work through the diagnosis.
- Don't ignore a slow drip. A small leak today is often a bigger one within weeks, especially if it's coming from a valve or fitting under ongoing pressure.