Work through it in order
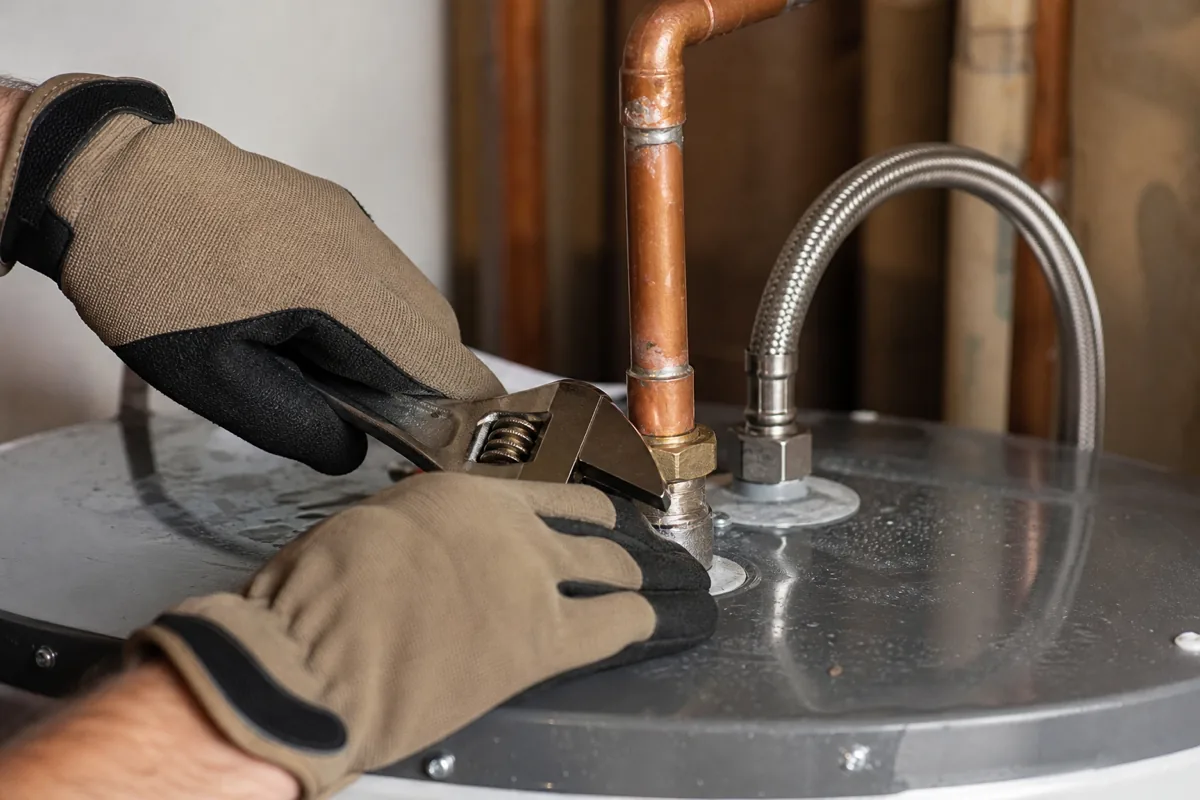
Check the inlet and outlet connections
The cold-water inlet and hot-water outlet connections at the top of the tank are the most common and easiest source to fix. Hand-tighten or use a wrench for a quarter turn, since thermal expansion over years of use can loosen these fittings slightly without any other sign of a problem.
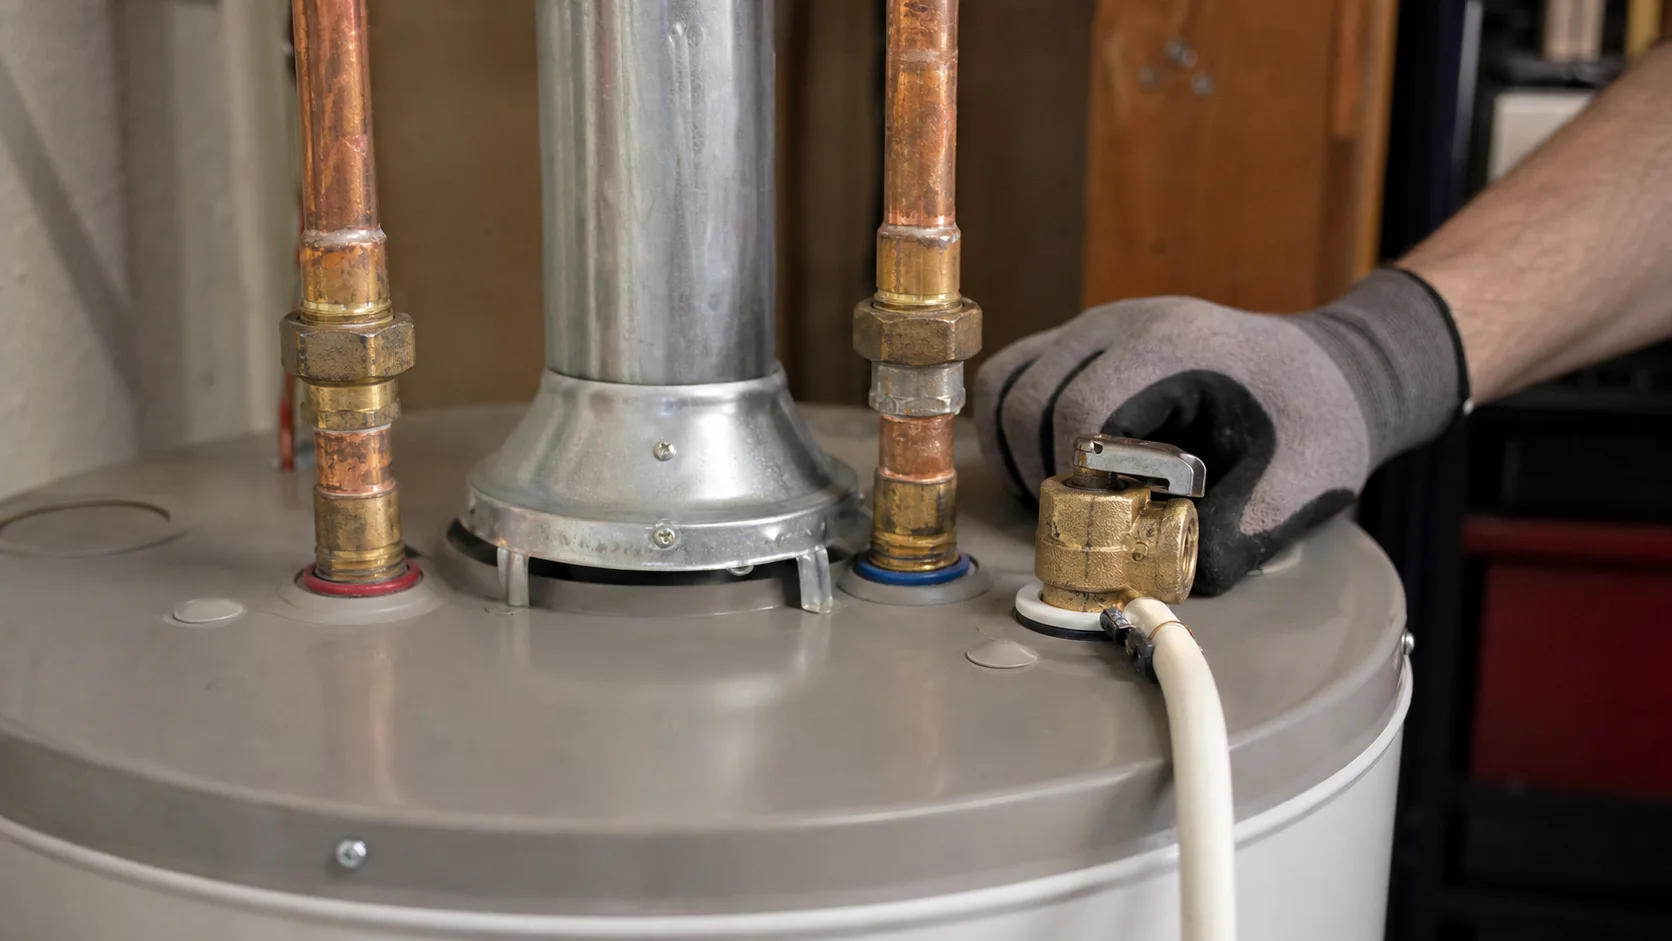
Check the T&P valve
The temperature and pressure relief valve, mounted on or near the top of the tank, is a safety device that releases water automatically if pressure or temperature inside the tank climbs too high. A valve that drips only occasionally, especially after heavy hot-water use, may simply be relieving excess pressure as designed. One that drips constantly needs replacing, not just tightening, since it's a safety device, not a fitting to seal shut.
Inspect the inlet and outlet nipples
The nipples, the short pipe fittings connecting the tank to household plumbing, can show visible corrosion, more common on older units. Look for rust-colored staining or pitting right at the connection point rather than a clean drip.
If tightening and the valve both check out and the leak continues
Treat this as a case for a plumber rather than continued guesswork. Confirming a nipple or valve failure at this point usually means draining the tank, which isn't a simple DIY step.
Why you should never plug or cap a leaking T&P valve
The T&P valve exists specifically to release pressure before the tank can become dangerous, and blocking it to stop a drip removes that safety margin entirely. A constantly dripping valve should be replaced, never sealed, no matter how tempting a quick cap or plug looks compared to a plumber's visit.