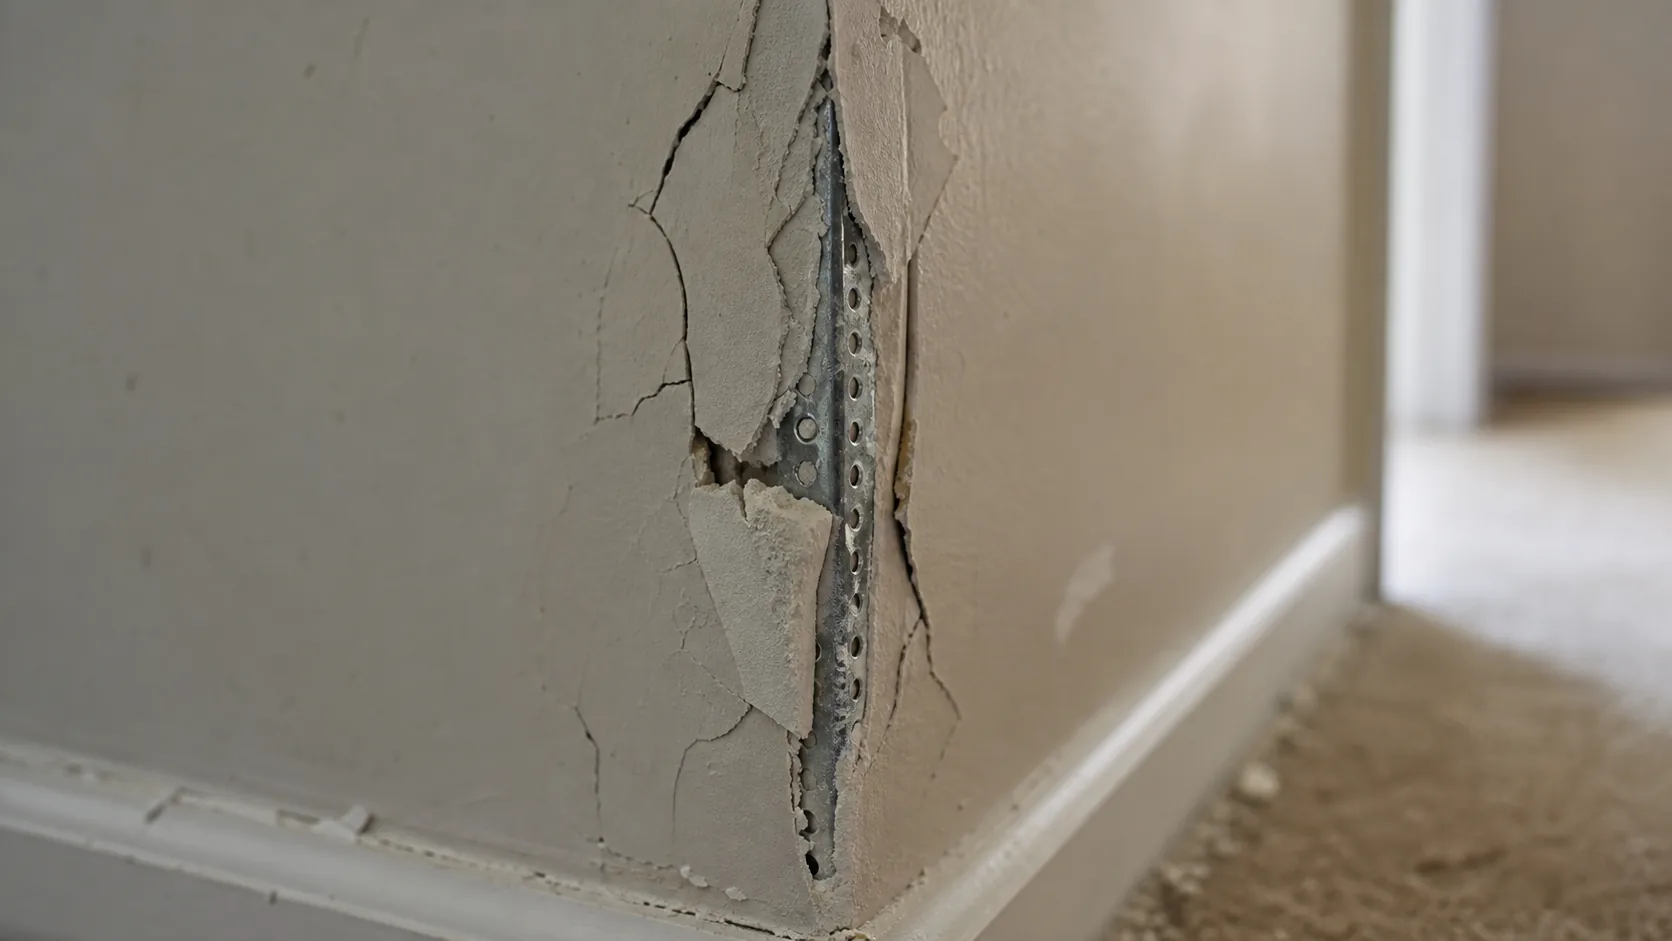
Is it the corner bead or just surface damage?
This is the question that decides which repair you're actually doing. A small dent or a hairline crack in the compound over the bead, without any flex or visible metal, is a simple resurfacing job that takes an afternoon. A corner that's visibly bent, has exposed metal showing through, or flexes noticeably when you press on it means the bead itself is damaged and needs replacing, a different and more involved repair. Press firmly along the length of the corner before deciding. If it feels solid and straight everywhere except for the surface damage, resurface it. If any section gives or moves under pressure, plan on replacing the bead.
Tools and materials
- Joint compound
- A taping knife
- A corner trowel, or a straightedge to keep the angle crisp
- Sandpaper, 120 to 150 grit
- Replacement corner bead, metal or paper-faced, for bead-level damage
- Tin snips or aviation snips, to cut bead to length
- Primer and matching paint
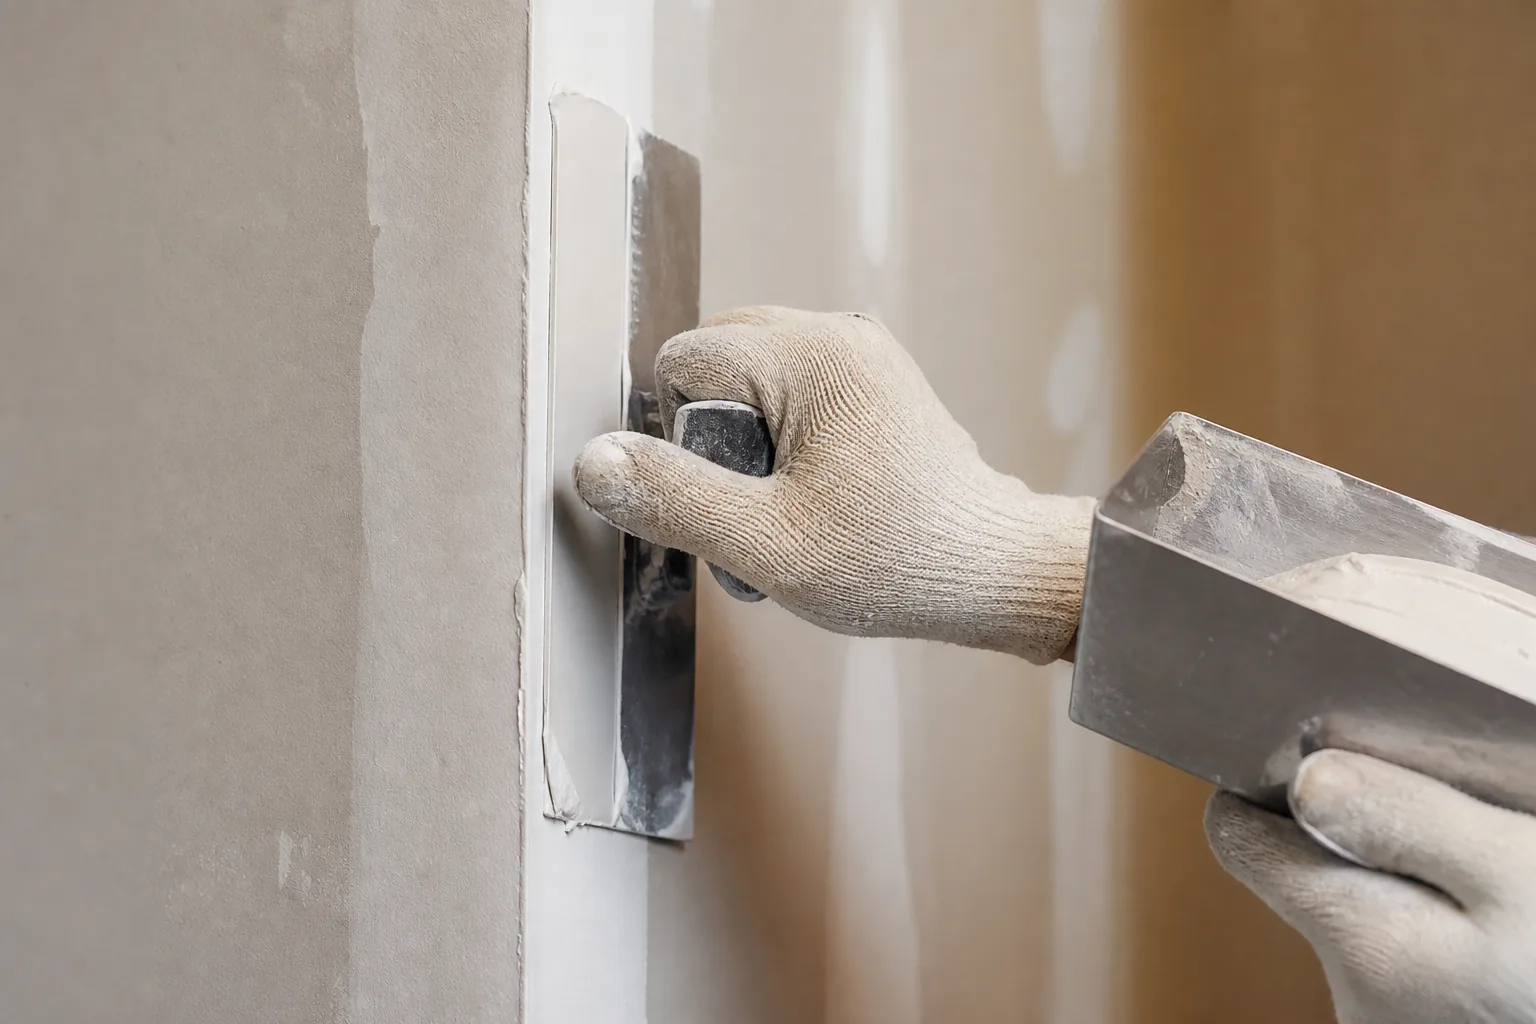
Minor damage: resurfacing over an intact corner bead
Use this method once you've confirmed the bead itself is straight and solid underneath.
- Sand or scrape away any loose or cracked compound down to the bead itself.
- Apply a thin coat of joint compound along the corner, using a corner trowel or a straightedge to keep the angle crisp on both sides.
- Let it dry fully, then apply a second, wider feathered coat that blends into the surrounding wall rather than forming a visible ridge.
- Sand smooth once fully dry.
- Prime, then paint to match.
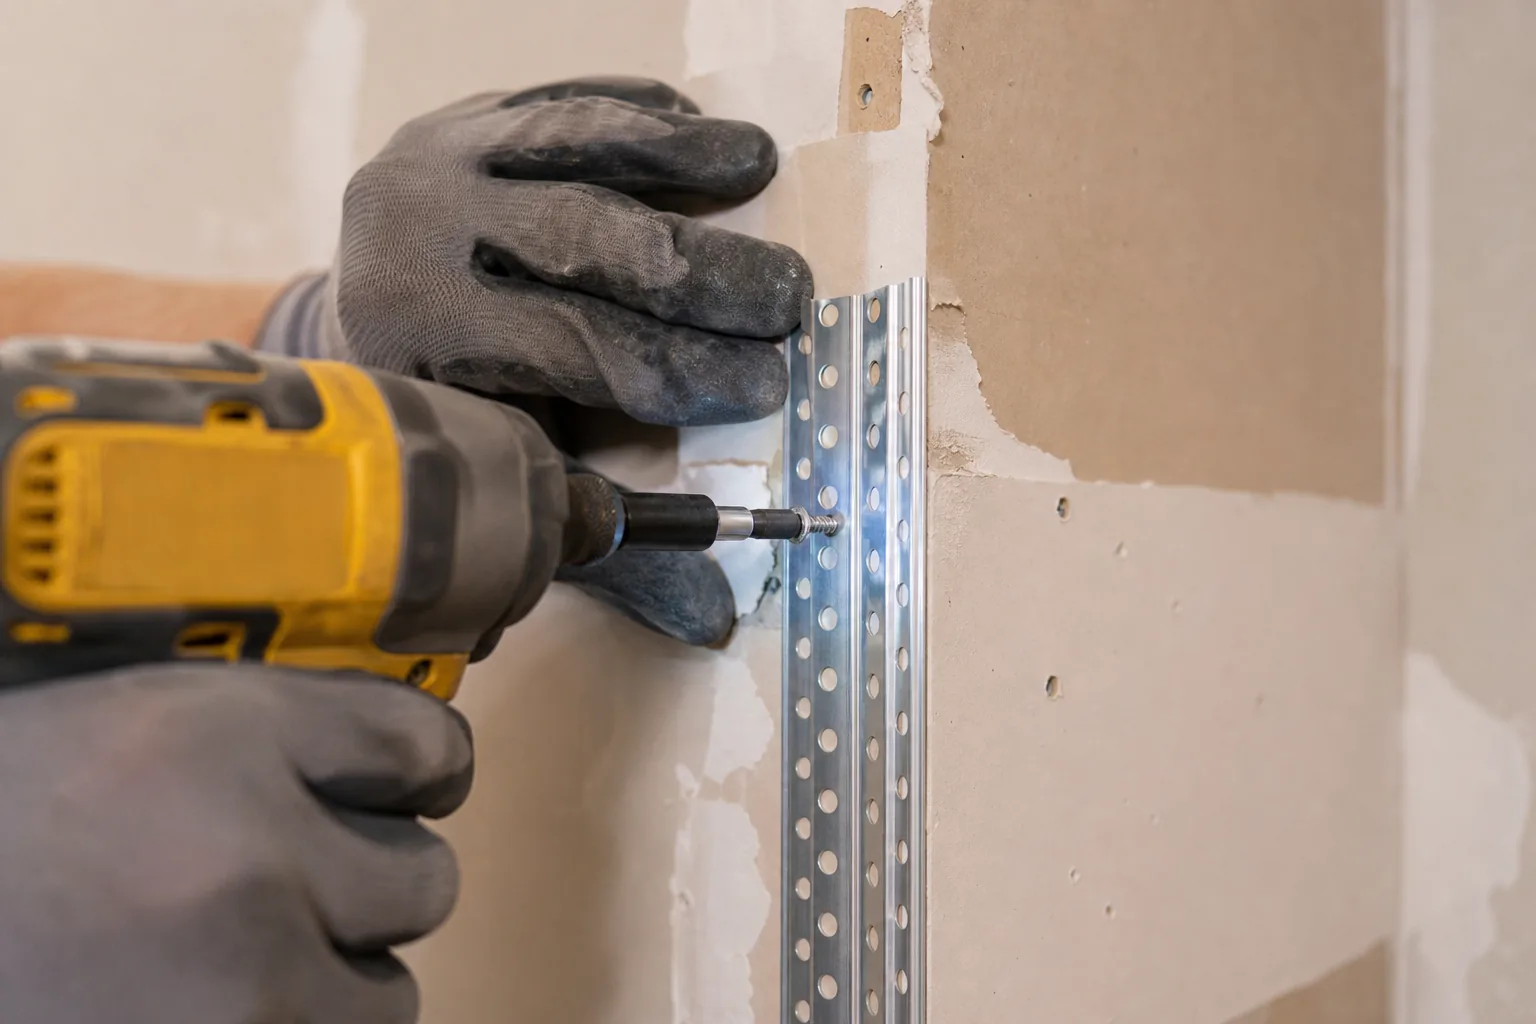
Major damage: replacing a bent or damaged corner bead
Use this method once you've confirmed the bead itself is bent, cracked, or has exposed metal.
- Cut away the damaged section of drywall and bead together, exposing enough sound bead and wall on either side to anchor a replacement.
- Cut a new corner bead section to length with tin snips.
- Secure the new bead with drywall screws or adhesive, depending on the bead type, keeping the corner line straight along its full length.
- Cover the new bead with joint compound in progressively wider feathered coats, letting each dry fully before the next, the same layering approach used on a standard drywall patch.
- Sand, prime, and paint to match.
If the damage extends past a single corner section, or you're not confident cutting into the wall, the full guide to patching a standard drywall hole covers the same backing and feathering techniques in more depth for a flat-wall opening, which is useful background before tackling a bead replacement for the first time.
Matching texture and paint so the repair doesn't show
Corners fail this test more often than flat patches do, since the angle itself catches light differently and makes any mismatch harder to hide. Paint alone won't cover it: bare compound soaks up paint at a different rate than the painted wall around it, so prime the repaired section first even if the color matches exactly. If the wall carries any spray texture, orange peel or knockdown, test the pattern on a scrap of drywall before you touch the actual corner. The full mechanics of both steps are covered in more depth on the flagship patching guide, since the underlying problem is the same one flat-wall patches run into.