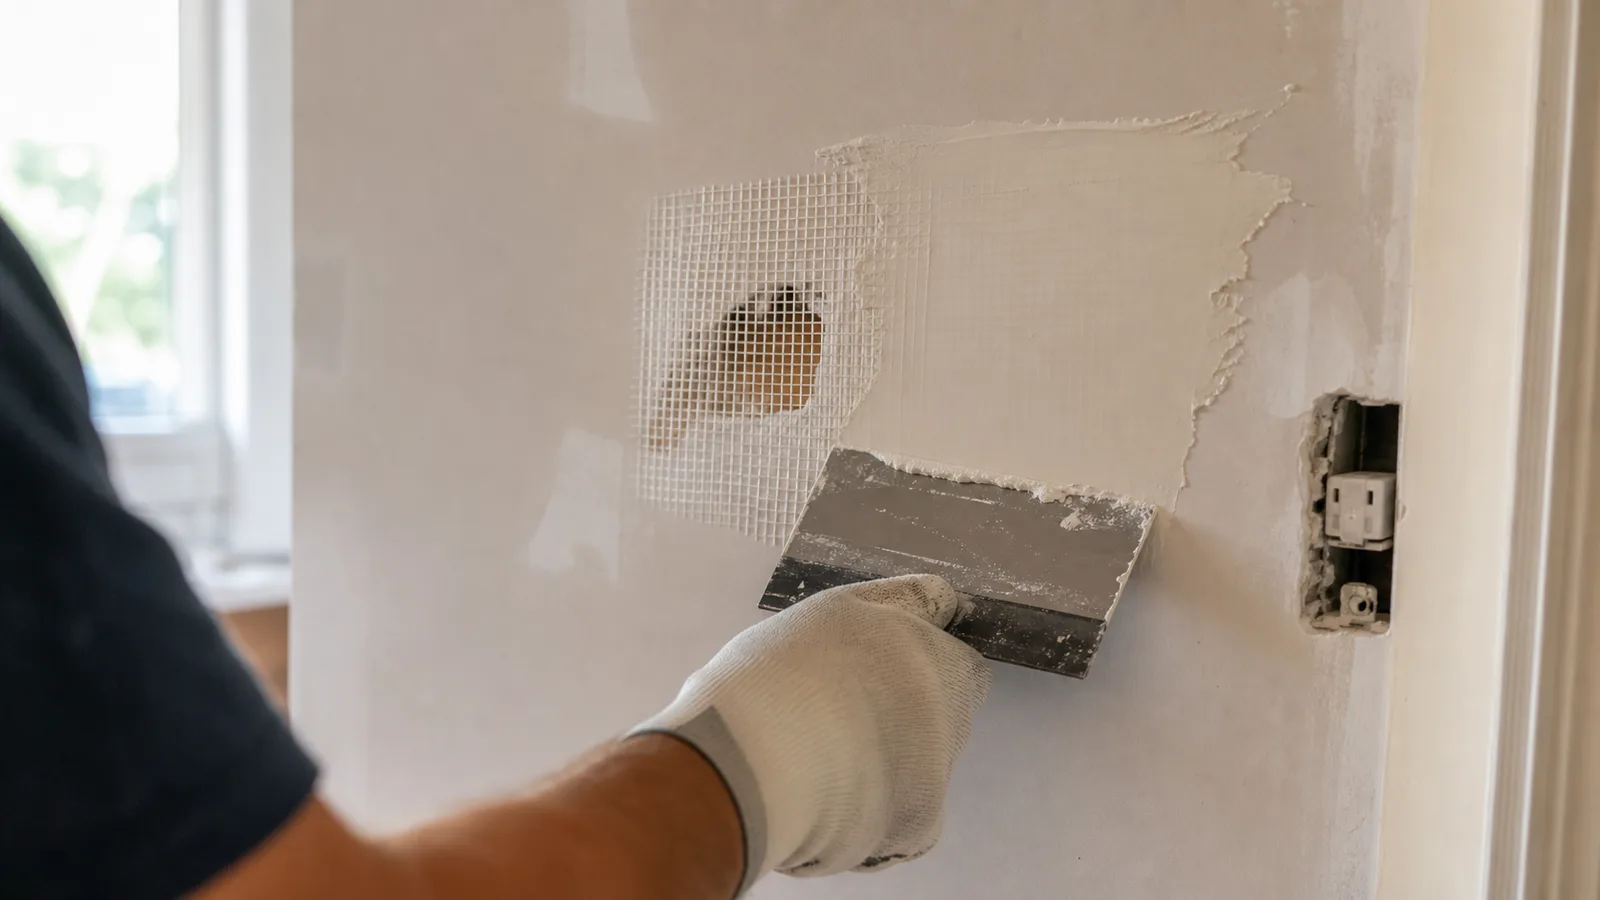
Tools and materials for any size repair
A short base kit covers most of what you'll need regardless of hole size:
- Joint compound (or spackle for nail-hole-sized repairs)
- A putty knife or taping knife
- Sandpaper, 120 to 150 grit
- Primer and matching paint for the finish
Each size band below adds a few specific items: a self-adhesive mesh patch for medium holes, or replacement drywall, drywall screws, and a backing piece for large holes.
Figure out your hole size first
Before doing anything else, sort your hole into one of three bands. Everything below is organized around this triage, so get this part right first.
- Nail and screw holes. Under about a quarter inch across.
- Small to medium holes. Up to roughly 6 inches, the doorknob-through-drywall range.
- Large holes. Over 6 inches, including anything that needs a patch anchored stud to stud.
Small holes: nail and screw holes
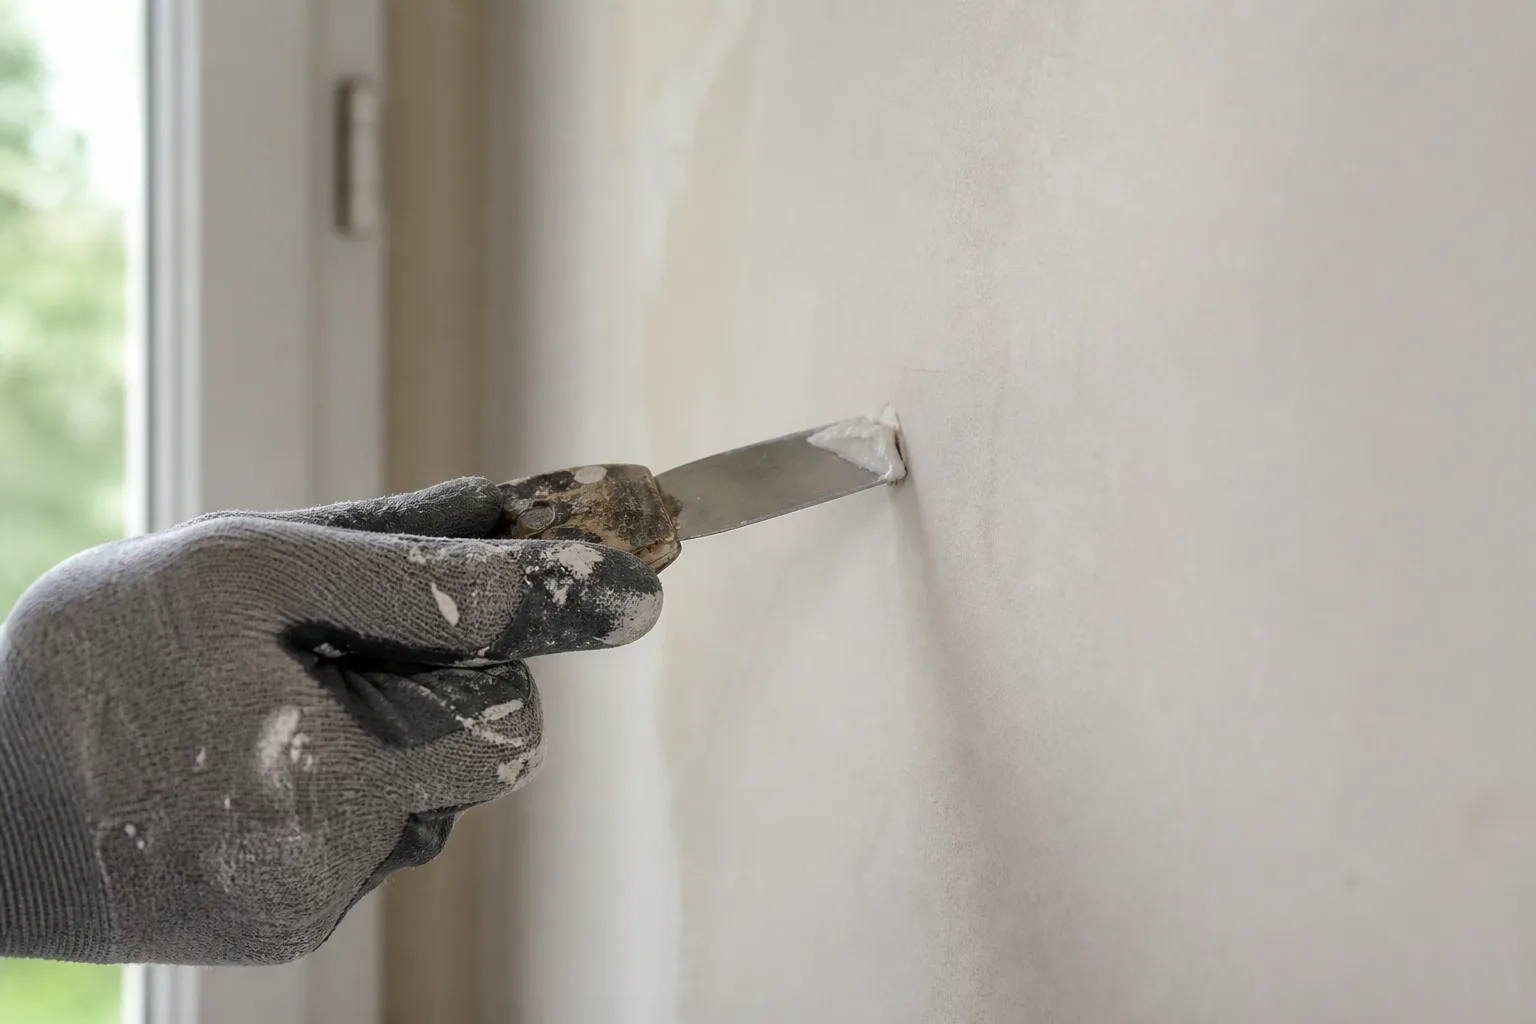
This is the quick win that covers a large share of drywall repairs. If your hole is smaller than a pencil eraser, spackle alone handles it.
- Press a small amount of spackle into the hole with a putty knife, filling it slightly proud of the surface.
- Let it dry fully. Most spackle formulas are ready to sand within an hour or two, though check your product's label since drying time varies.
- Sand it flush with the surrounding wall using 120 to 150 grit sandpaper.
- Prime the spot if you're painting, then match the wall color.
That's the entire repair. No mesh, no cutting, no backing required.
Medium holes: up to about 6 inches
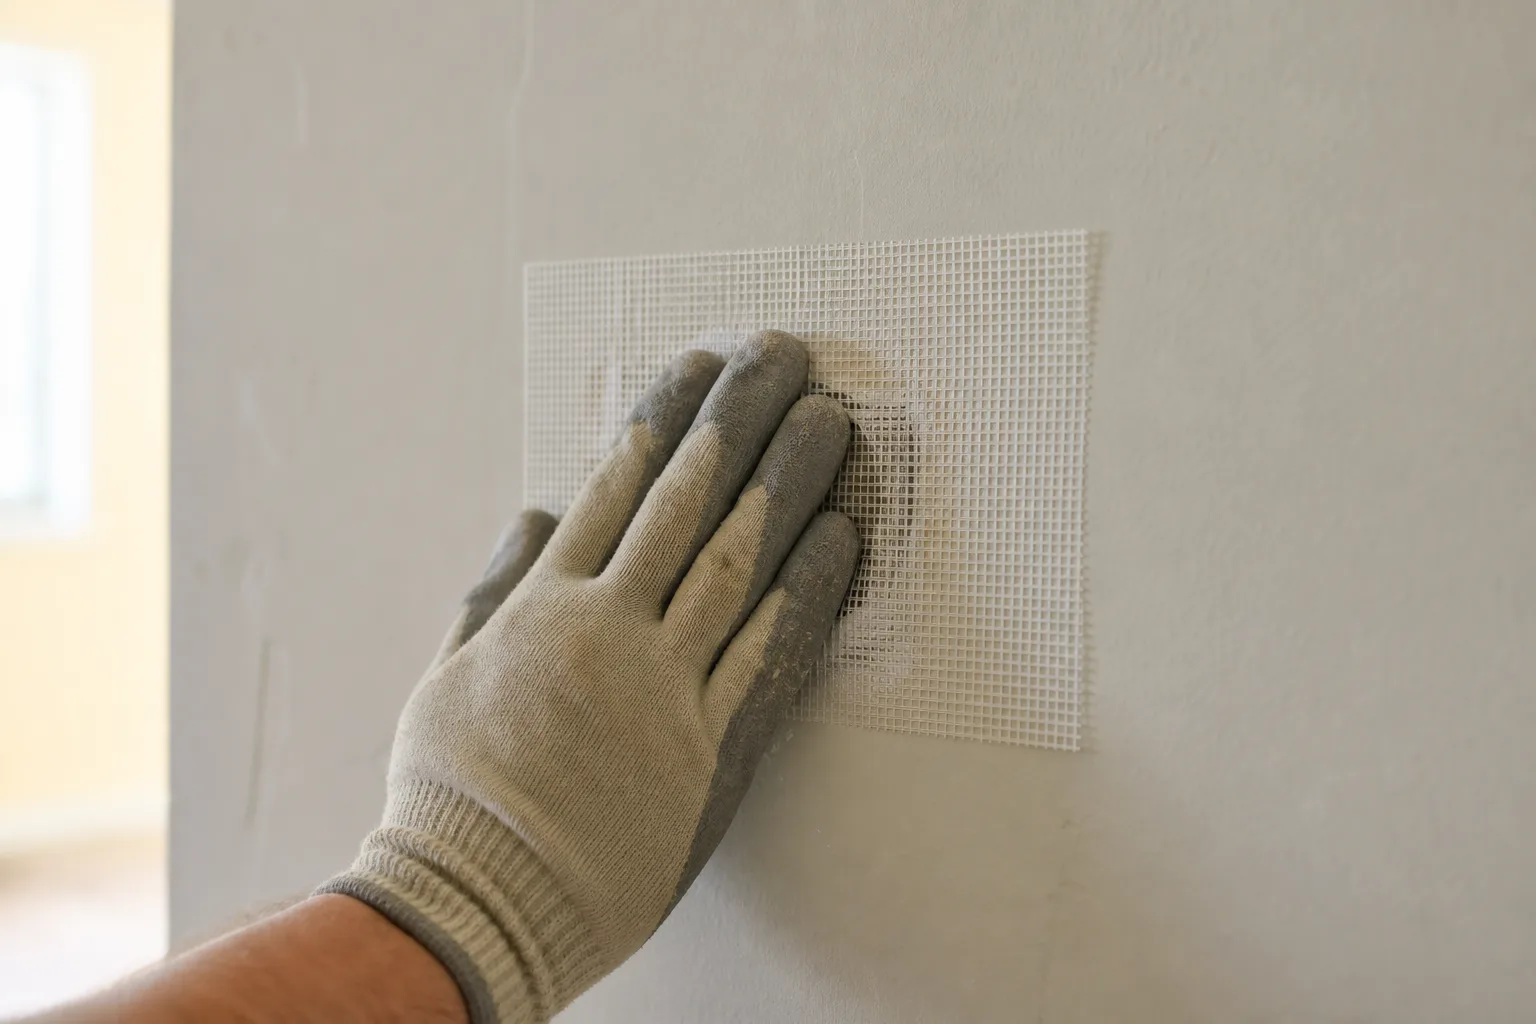
This band covers most doorknob dents and similar impact holes. The self-adhesive mesh patch method works well here because it spans the opening without needing to cut into the surrounding drywall.
- Clean the edges of the hole so the patch has a flat surface to stick to; knock off any loose paper or crumbling drywall around the opening.
- Center a self-adhesive mesh patch over the hole, pressing it flat so it bonds evenly on all sides.
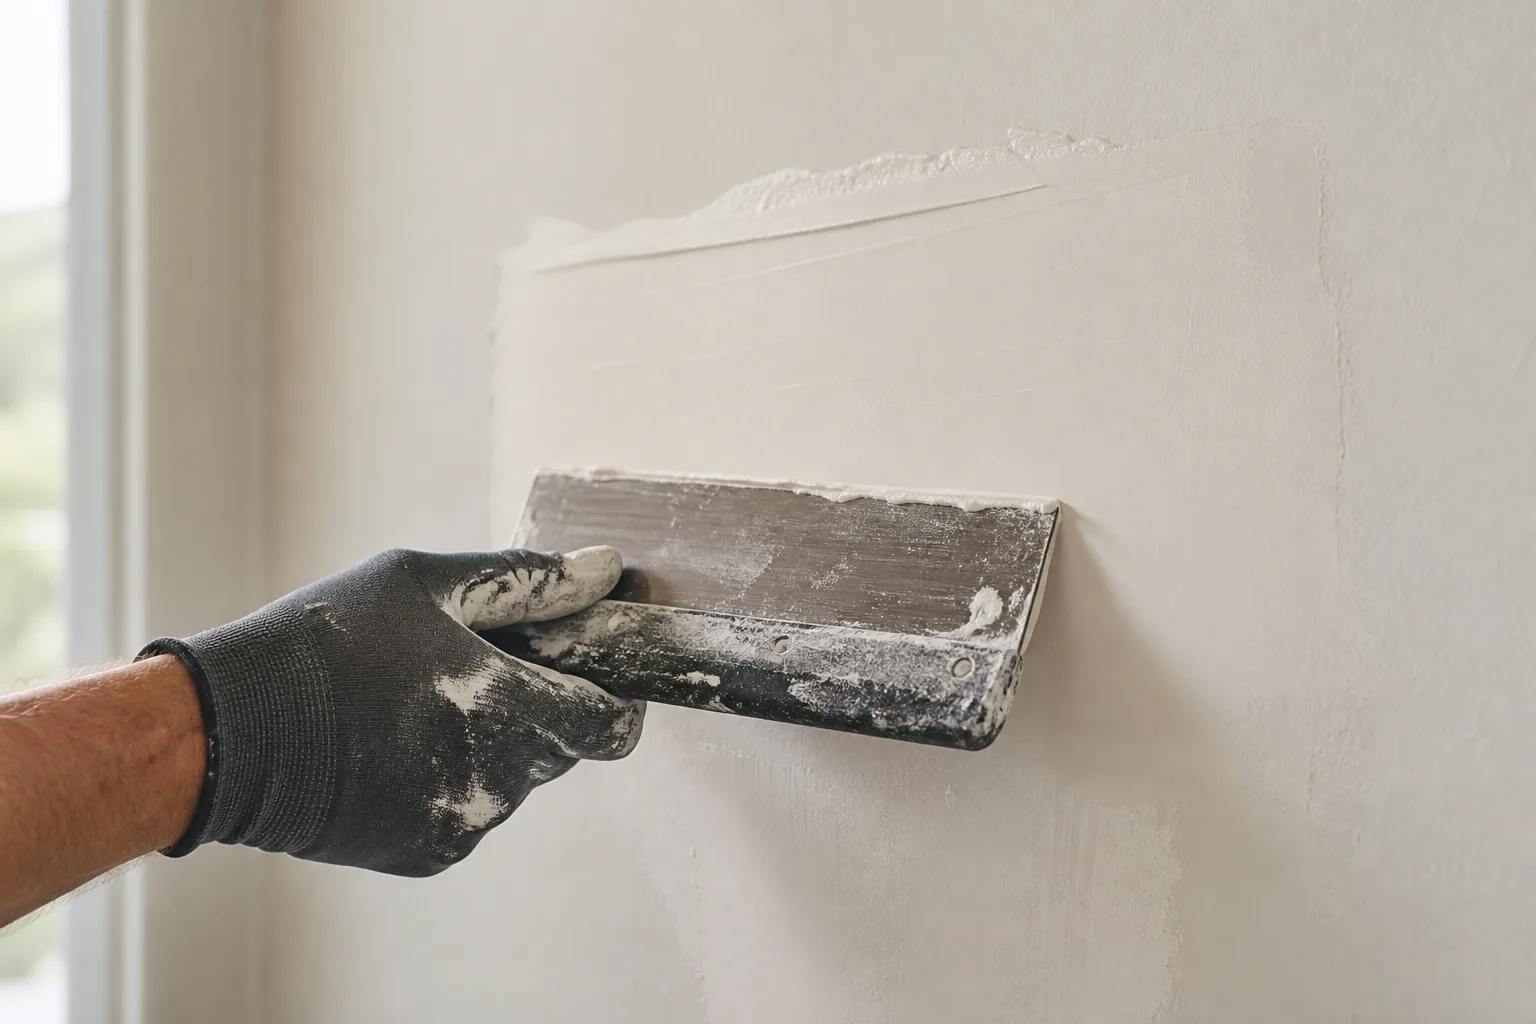
- Cover the patch with a thin layer of joint compound using a taping knife, spreading it slightly wider than the patch itself.
- Let that coat dry fully, generally 24 hours under normal indoor conditions.
- Apply a second thin coat, feathering it out wider than the first so the edges blend into the surrounding wall rather than forming a visible ridge.
- Sand smooth once fully dry.
- Prime, then paint to match.
Large holes: over 6 inches
This is the most involved repair on this page, but it's still a reasonable weekend project for someone comfortable with basic tools.
- Cut a clean square or rectangle around the damaged area using a utility knife or a drywall saw; a straight-edged cut is easier to patch than the ragged original hole.
- Cut a replacement drywall patch to match the size of that opening, trimming as needed for a snug fit rather than a loose one.
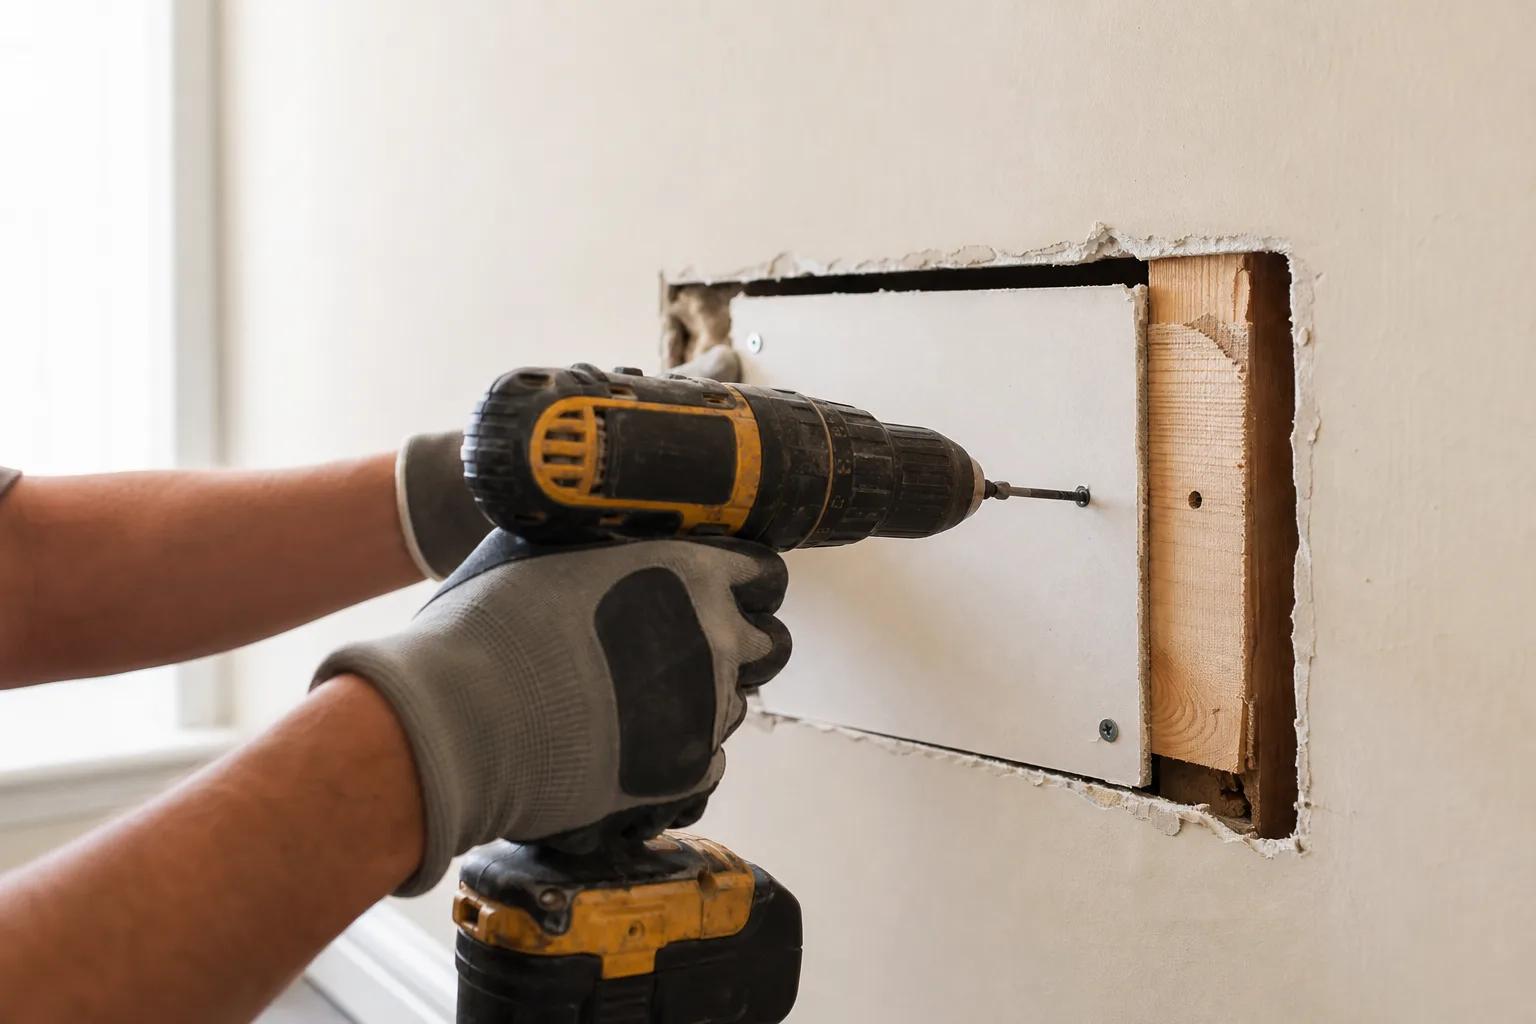
- Add backing behind the opening so the patch has something to screw into. A scrap piece of wood held in place by hand while you drive a couple of screws works, or use a drywall repair clip designed for exactly this.
- Screw the patch into the backing, driving drywall screws flush with the surface without breaking the paper.
- Cover the seams with joint tape, pressing it into a thin layer of joint compound underneath.
- Apply joint compound in two to three coats, letting each dry fully and feathering each one progressively wider than the last so the patch blends into the wall instead of standing out as a raised rectangle.
- Sand between coats and after the final one.
- Prime the entire patched area, then paint to match.
A note on holes caused by water damage
If the hole, or the drywall around it, is soft, discolored, or came from a leak rather than an impact, the steps above aren't enough on their own. Patching over drywall that's still wet, or that's covering an active leak, means the patch fails again once moisture works its way back through. Fix the underlying water source first, whether that's a roof leak, a plumbing leak, or condensation, then let the area dry completely before patching. A dedicated guide to repairing water-damaged drywall covers what to check before you patch and how the process differs from a standard impact hole.
Matching texture and paint so the patch doesn't show
This is the step most guides skip, and it's usually the difference between a patch that disappears and one that's obviously a patch.
Texture matching. Most walls and ceilings built in the past few decades have some texture, whether that's a light orange peel spray, a heavier knockdown pattern, or a smooth hand-troweled finish. A perfectly smooth patch on a textured wall stands out immediately, no matter how clean the compound work underneath is. Texture-matching sprays are available for orange peel and knockdown finishes and can be practiced on a scrap piece of drywall first to get the spray distance and pattern right before applying it to the actual patch. A smooth finish just needs careful, even sanding, no spray required.
Priming before painting. Unprimed joint compound absorbs paint differently than the surrounding painted wall. Even with an exact paint color match, an unprimed patch often shows up as a slightly duller or shinier area once the topcoat goes on, an effect called flashing. A coat of primer over the patched area evens out absorption so the final color reads consistently with the rest of the wall.