Confirm the leak source is actually fixed
Patching now, before the water source is resolved, just means redoing the work later, sometimes within a month. If the leak traced back to a roof problem, the roof leak repair guide covers finding and sealing that source. If it came from a water heater, the water heater leaking guide walks through diagnosing that instead. Don't try to re-diagnose the original leak here. Confirm it's actually stopped, then move on.
Let it dry completely before patching
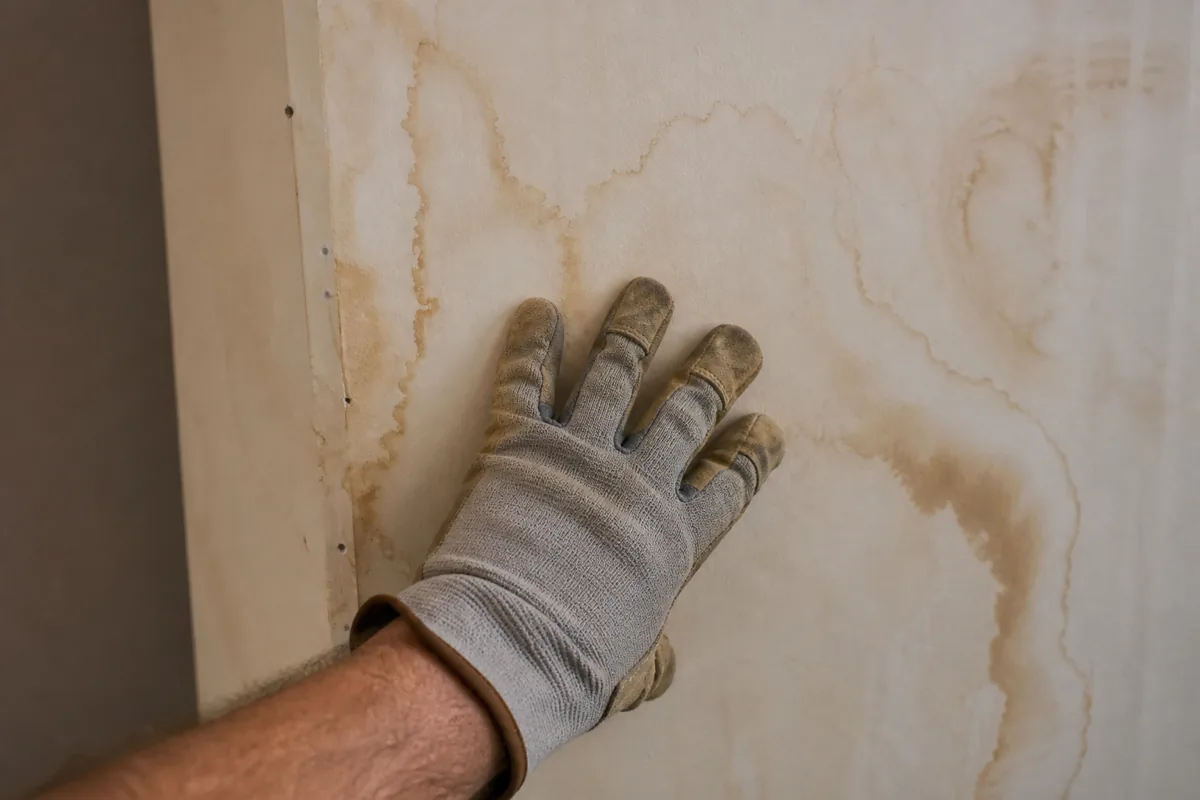
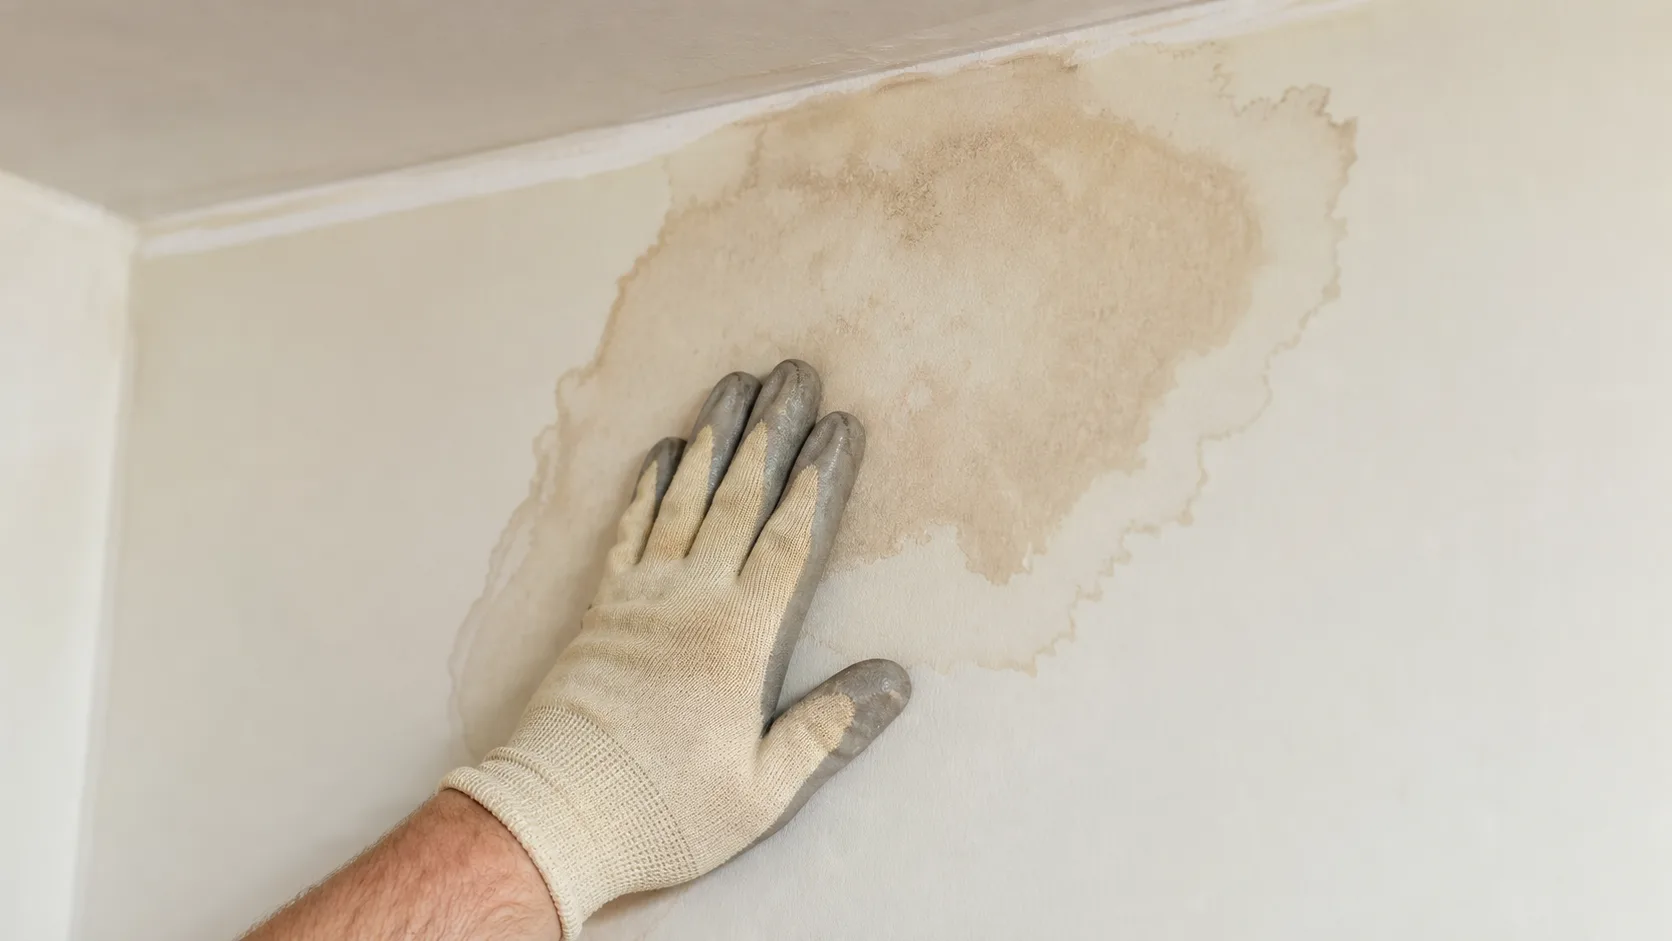
Open the area to air, and run a fan on it if the space is enclosed. Check dryness by feel first: press gently, and if the drywall still feels spongy or cool to the touch, it hasn't finished drying. A moisture meter, if you have access to one, gives a more reliable reading than a hand check alone. Patching over drywall that's still damp traps that moisture behind the new material, and the patch fails once the trapped water works its way back through, usually as a fresh stain in the same spot within a few weeks.
Figure out how far the damage actually goes
This is the part that separates a water-damage repair from a standard hole patch. Water doesn't stay where the stain is visible. It wicks sideways through the paper facing and the gypsum core well beyond the edge of the discoloration, so the boundary you can see on the surface usually isn't the real boundary underneath.
Press gently around the stained area, working outward in small steps. Anywhere the material gives, feels soft, or crumbles slightly under light pressure needs to come out, even if it looks fine on the surface. Keep testing until you find a ring of drywall that feels as firm as the untouched wall around it. That's your actual cutting line.
Cut back to solid material and patch using the standard method
Once you've established the boundary of solid, dry drywall, the mechanical part of the job is no different from repairing an impact hole of the same size. Cut a clean opening along that boundary, add backing if the opening spans more than one stud bay, then tape and coat with joint compound. The standard hole-patching steps cover cutting, backing, taping, and finishing in full detail by size, so there's no need to repeat that procedure here. The only thing this page adds is the sizing: cut to where the material tests solid, not to where the stain stops.
A note on ceiling water stains specifically
Gravity changes how the damage shows up. A ceiling stain often looks worst right at the point where water actually entered and lighter as it spreads outward, unlike a wall stain, which can spread more evenly in all directions. Sagging is the detail to watch for on a ceiling. A stain by itself is a repair job. A ceiling that's sagging, even slightly, means the material has absorbed enough water to lose structural rigidity, and that's a different level of urgency than a cosmetic patch.
When this is bigger than a patch
A few situations go past what a weekend patch can handle. Mold beyond the roughly 10-square-foot EPA guidance above calls for a remediation professional before you touch the area at all. A ceiling that's sagging rather than just stained needs to be treated as urgent, since it points to material that may no longer be holding its own weight. And water damage that keeps showing up in the same spot, patch after patch, isn't a drywall problem at all. It's a sign the underlying plumbing or roofing issue was never actually fixed.